Our homemade calendars ($8.49 on Amazon) turned out beautifully. Below are the photos and notes for each project. I got all of my ideas from Pinterest and have linked to the original instructions as well. Some were quick and easy; others had multiple steps and involved more of a time commitment.


calendar cover art - Marble Painting
This is easy and fun! I used an old vintage ice cube tray for the paint palette and an old cafeteria lunch tray to contain the 12 x 12 paper and the marble as it rolled around.

December 2016 - Quirky Trees
I let the kids paint the trees as quirkily (if that's a word) as they wanted to. One little girl even wanted to make her trees extra quirky and so she glued them in upside down. Note the pink snow.
Pink Snow and Other Weird Weather would be a good tie-in to this project.
So would The Big Orange Splot by Daniel Manus Pinkwater!

January 2017 - The Snowy Day Printing
This was easy. We used bubble wrap and white paint on blue 12 x 12 card stock. We traced and cut the little figure out of tracing paper, then used that template to cut him out of red construction paper.


February 2017 - Celery Heart Roses
Easy! Just cut the celery off close to the base and paint the base with red paint. Flip upside down, hold the "handle," and stamp. Practice on some extra blank paper first. Each child needed a practice piece of paper, to get the amount of paint and the amount of pressure correct.


March 2017 - Georgia O'Keeffe Flowers
India ink is not expensive. This project takes two days, however. On day one, read a book about Georgia O'Keeffe and show some of her artwork. Talk about the bird's eye view versus the bug's eye view. Let them draw their flowers on 12 x 12 white cardstock with a pencil. Then mix india ink with glue in a yogurt cup and stir with a craft stick. You'll need to throw both the yogurt cup and craft stick away when you're done. Pour (no funnel needed) into an extra glue bottle with a tight closing lid. Warn children that the glue will be runnier, due to the ink, and so not as much pressure is needed as with regular all purpose glue. They need to work slowly. The lines will need to dry overnight.
On day two, use chalk pastels to color in your flower. Spray with fine hairspray to preserve.
We read Through Georgia's Eyes and I also had available My Name is Georgia.

April 2017 - Footprint Easter Bunny
This was very cute in the Pinterest picture with a chubby little toddler foot! Big kids make longer and thinner bunnies, but they still turned out well. I got special 12 x 12 burlap scrapbook paper.


May 2017 - Paper Weaving
This was so pretty in the final calendars but YIKES! The hardest prep on the teacher, by far, out of all the projects. You need a special paper trimmer and for me it took quite a few rounds of trial and error to get the math right. I ended up with a one and a half inch border all the way around and then nine cuts each an inch wide. You have to have an odd number of strips. Each child got to choose his or her background color of cardstock and then the colors for the weaving itself, so I was sitting on the floor cutting paper all afternoon. I glued each loose end of the weaving in place with a glue dot.
One more note: I was SO worried about making lines on the paper at first, until I realized that I could make my measurements and cut the paper and then we could flip it over to do the weaving!


June 2017 - Tin Foil Fish
Another multi-step project. I cut 12 x 12 sheets of white watercolor paper from a 12 x 18 inch pad, because I knew the paper would need to stand up to a lot. They painted it with watercolor paints and added salt while the paint was wet. Then they traced fish shapes on aluminum foil and cut them out. Maybe next time I would provide a fish template or two. They laid the shapes over the plastic mesh bags you find onions sold in and scrubbed with their fingernails to add the texture of scales. But I found when they went to color the fish with Sharpie that the scale texture was undone by the coloring lines. However, this was the project the children liked the most... so I guess I would do it again.
Any underwater book would be fine to introduce this, like Eric Carle's Mister Seahorse or even Pattern Fish (if you wanted to throw a math lesson in there).

July 2017 - Fireworks and City Silhouette
Blackout by John Rocco is a perfect fit for cityscapes.
On white paper you can easily use diluted Stockmar paint and a straw to do blown paint art, and we've tried this before with great success, but on black paper we found we had to use the tempera thinned with water. I also provided glue and gold glitter to use to accentuate their fireworks if they wanted to. Glitter doesn't usually hold up to the opening and closing of calendars very well though.


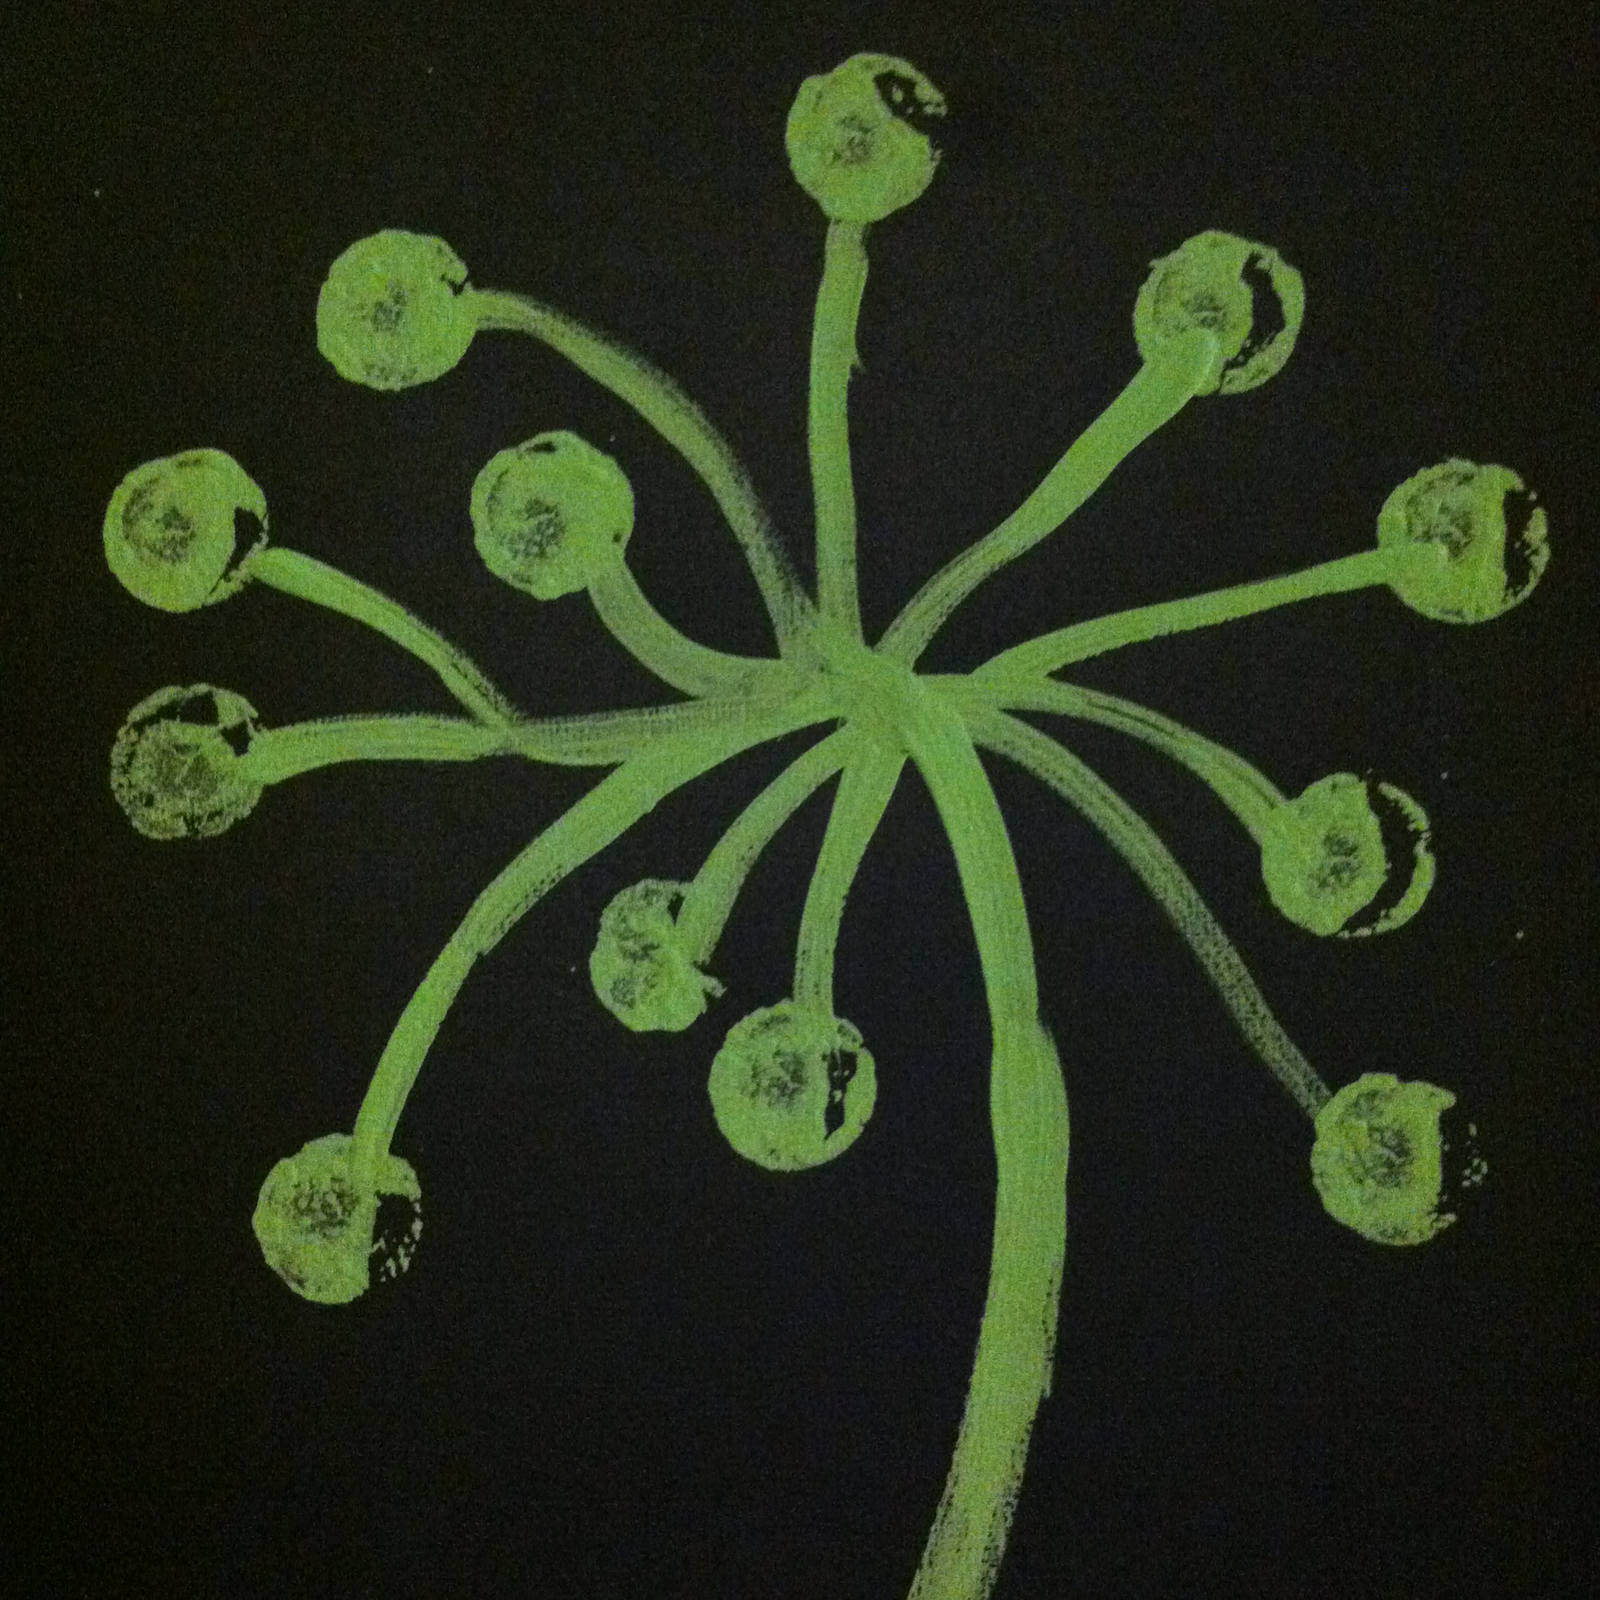
August 2017 - Thumbprint Dandelion
My fourteen year old liked the look of this craft so much, she wanted to make one! Great use for those little connected snap-top containers of paint which come in craft kits. It takes a long long time for kids to paint their thumbs and plan the careful layout of colors, so don't think this is a quick craft. Have handy baby wipes for cleaning thumbs. We just used Sharpie to freehand the dandelions.


September 2017 - Fizzing Apple Art
The Pinterest instructions make this look so dramatic, but we didn't find it was that volcanoey (again, not really a word...) But I used the simplest of ingredients, so that may have made a difference. We used this apple pattern and traced it on watercolor paper. I used the 12 x 6 inch strips leftover from the Tin Foil Fish activity. Then we painted the watercolor paper with a baking soda-water slurry, not too thin. Then we mixed up white vinegar in several little glass baby food jars with food coloring and painted the colored vinegar on top of the baking soda paint. It made a neat texture!
One student liked it so much she painted a fizzing art picture of a truck for her little sister's Christmas present. We used this dump truck pattern and she colored a picture with colored pencils and then glued the textured dump truck on top. It was very pretty and most unusual.


October 2017 - Chalk Stenciled Pumpkins
This was fabulous fun! Students free-handed the pumpkins of their choice on orange construction paper and then drew on the jack-o-lantern faces. After cutting them out, just lay on 12 x 12 black card stock and color with chalk pastel a little onto the edges and a little off the edges, all around, so that there slowly builds a "glowing" outline of your jack-o-lantern. So cool! The kids loved to keep their pumpkins, too, to show their parents how they created the art. Spray with fine hairspray.
A good story for this? Too Many Pumpkins by Linda White would be perfect.

November 2017 - Spider Web Art
Time for some autumn poetry: Spiders Spin Webs by Yvonne Winer. We used regular crayola crayons but I think that oil pastels or Stockmar stick beeswax crayons would have given a stronger line and resisted the watercolor paints a bit better.
Another great story, which actually shows step-by-step how spiders build their webs, and has the textured lines to boot (so helpful for the sensory-oriented child), is The Very Busy Spider.


December 2017 - Christmas Trees
Little Tree by e. e. cummings has illustrations which are just perfect for this art project. We used Stockmar stick beeswax crayons, which needed no time to dry, so that we could glue these pictures in (I used glue dots to glue everything in since they take instant permanent hold with no drying time)
and have the calendars ready for gift giving! I had the children draw the triangle tree with a ruler first, then overlap the tree in all different directions and in many different ways. And 18 inch ruler is best for this. Into each little section, they were to place a color, with cool colors inside the tree and warm colors outside the tree. This was another project, like the Thumbprint Dandelions, which took longer than I thought it would because they were placing the colors so carefully!

Students loved to write in their family's favorite holidays, and little special notes, on each page.
The calendars were a huge hit!!!
We wrote in the dates for the relevant month as we did each piece of artwork, which helped to spread out all that paintstaking work of writing. It also helped the children to see "where" they were in time. The seasonal stories helped a great deal with this too.
I really like the Karen Foster blank wall calendars a lot. They have a page for December of this year, so you can hang your child's calendar up right away, plus twelve pages for next year. They also have all the branding on the front cover, which is covered by the artwork, so there are no logos anywhere else; only your child's work shows. Lastly, I'm so pleased that they have six rows for each month, which means that in a month with six weeks, your child can write in every day easily and clearly with no confusing 24 / 31 on an odd Sunday every once in a while.
More pictures of this lovely artwork in progress:


January


February


March


April


May


June


July


August

October


November


The Dump Truck


 Immersive Experience
 Immersive Experience
 Immersive Experience
No comments:
Post a Comment