
In a Nutshell
by Joseph Anthony
We started by making the fabulous Black Bean Brownie recipe from Chocolate Covered Katie. We have learned to use a 12 cup muffin pan for this batter. It makes perfectly portioned brownies and they cook a little bit better in smaller amounts. We still cook them for the full 18 minutes. And, yes, we add the extra chocolate chips on top!
Next, we spent a lot of time making felted acorns. We have a pretty basket of burr oak acorn caps and I wanted a project which would take advantage of them! Felted acorns are super easy. Just make tiny wet felted wool balls and then glue on the acorn caps when the balls are dry. To make into Christmas ornaments, string them with thread for hanging. We were totally inspired by this gorgeous picture from the StoneHouseCrafts Etsy shop:
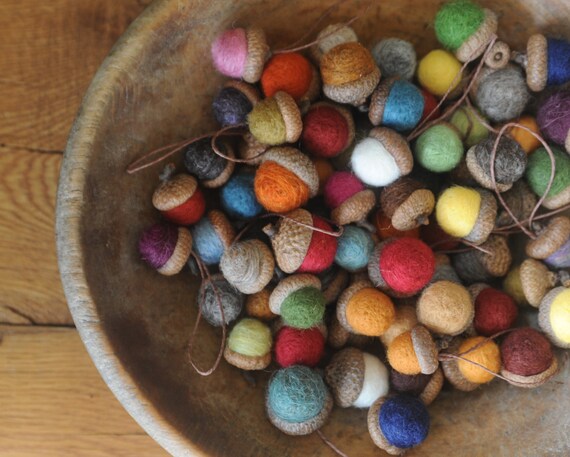
Even my teenage daughters got into this activity! Wet felting is great because it's so simple a kindergartener can do it... but there are so many interesting projects that can be done it is even fun for adults! To make the acorns smooth and hard we added the extra step of fulling (using an old-fashioned washboard).
- soap, cheese grater
- large bowl of very hot water
- plenty of towels
- pure wool roving in assorted colors
- washboard
- assorted sizes of acorn caps
- glue, thread for stringing
Grate some of a bar of pure olive oil soap on a cheese grater. Add to the bottom of a large bowl, then add very very hot water. Perferably, make the water as hot as your hands can stand. Swish the soap shavings around until they dissolve completely.
Roll a long piece of wool roving into a tight little ball. Remember that the wool will shrink as it felts and the little barbs in the wool fiber lock together permanently. We found that, out of all of our wool, the inexpensive felting wool from Paper Scissors Stone worked the best. Every kind of sheep gives a different texture of wool.
Hold the ball of wool in one palm over your bowl of hot soapy water. Scoop and sprinkle water onto your ball until it is completely saturated. Gently roll the ball around and around until you feel the fibers lock together. Roll it harder onto the towel, still moving your hand in a circular fashion. The dobby border of a towel is perfect for extra texture. The more friction, the harder your wool will felt.
When your little wool ball is firm enough that it bounces when you drop it, try fulling it on an old washboard (or you can use that handy cheese grater) for an extra-smooth surface.
Make as many as you wish! Set them on an extra towel to dry.
(You can also dry wet felted wool balls in the dryer on high heat but for such little balls it hardly seems necessary. And they may end up where all your missing socks go...)
When the wool balls are completely dry, insert each one into an acorn cap and secure with glue. For ornaments, add a thread for hanging.
It was then time to snack on one of our brownies. And take a nature walk to see how many persimmons we could find on the ground. We put our persimmons directly into the freezer whole, then thaw when we've collected enough for a recipe and press through a strainer to leave the skin and seeds behind. My newest favorite persimmon recipe is this divine Creamy Vegan Persimmon Butternut Squash Soup. It's worth finding a persimmon tree for!
My student finished up her tack punched "Window Letters" picture for her father, which she started last week (see previous post). Then it was on to making a gift for a friend: a lovely piece of Snap Art!
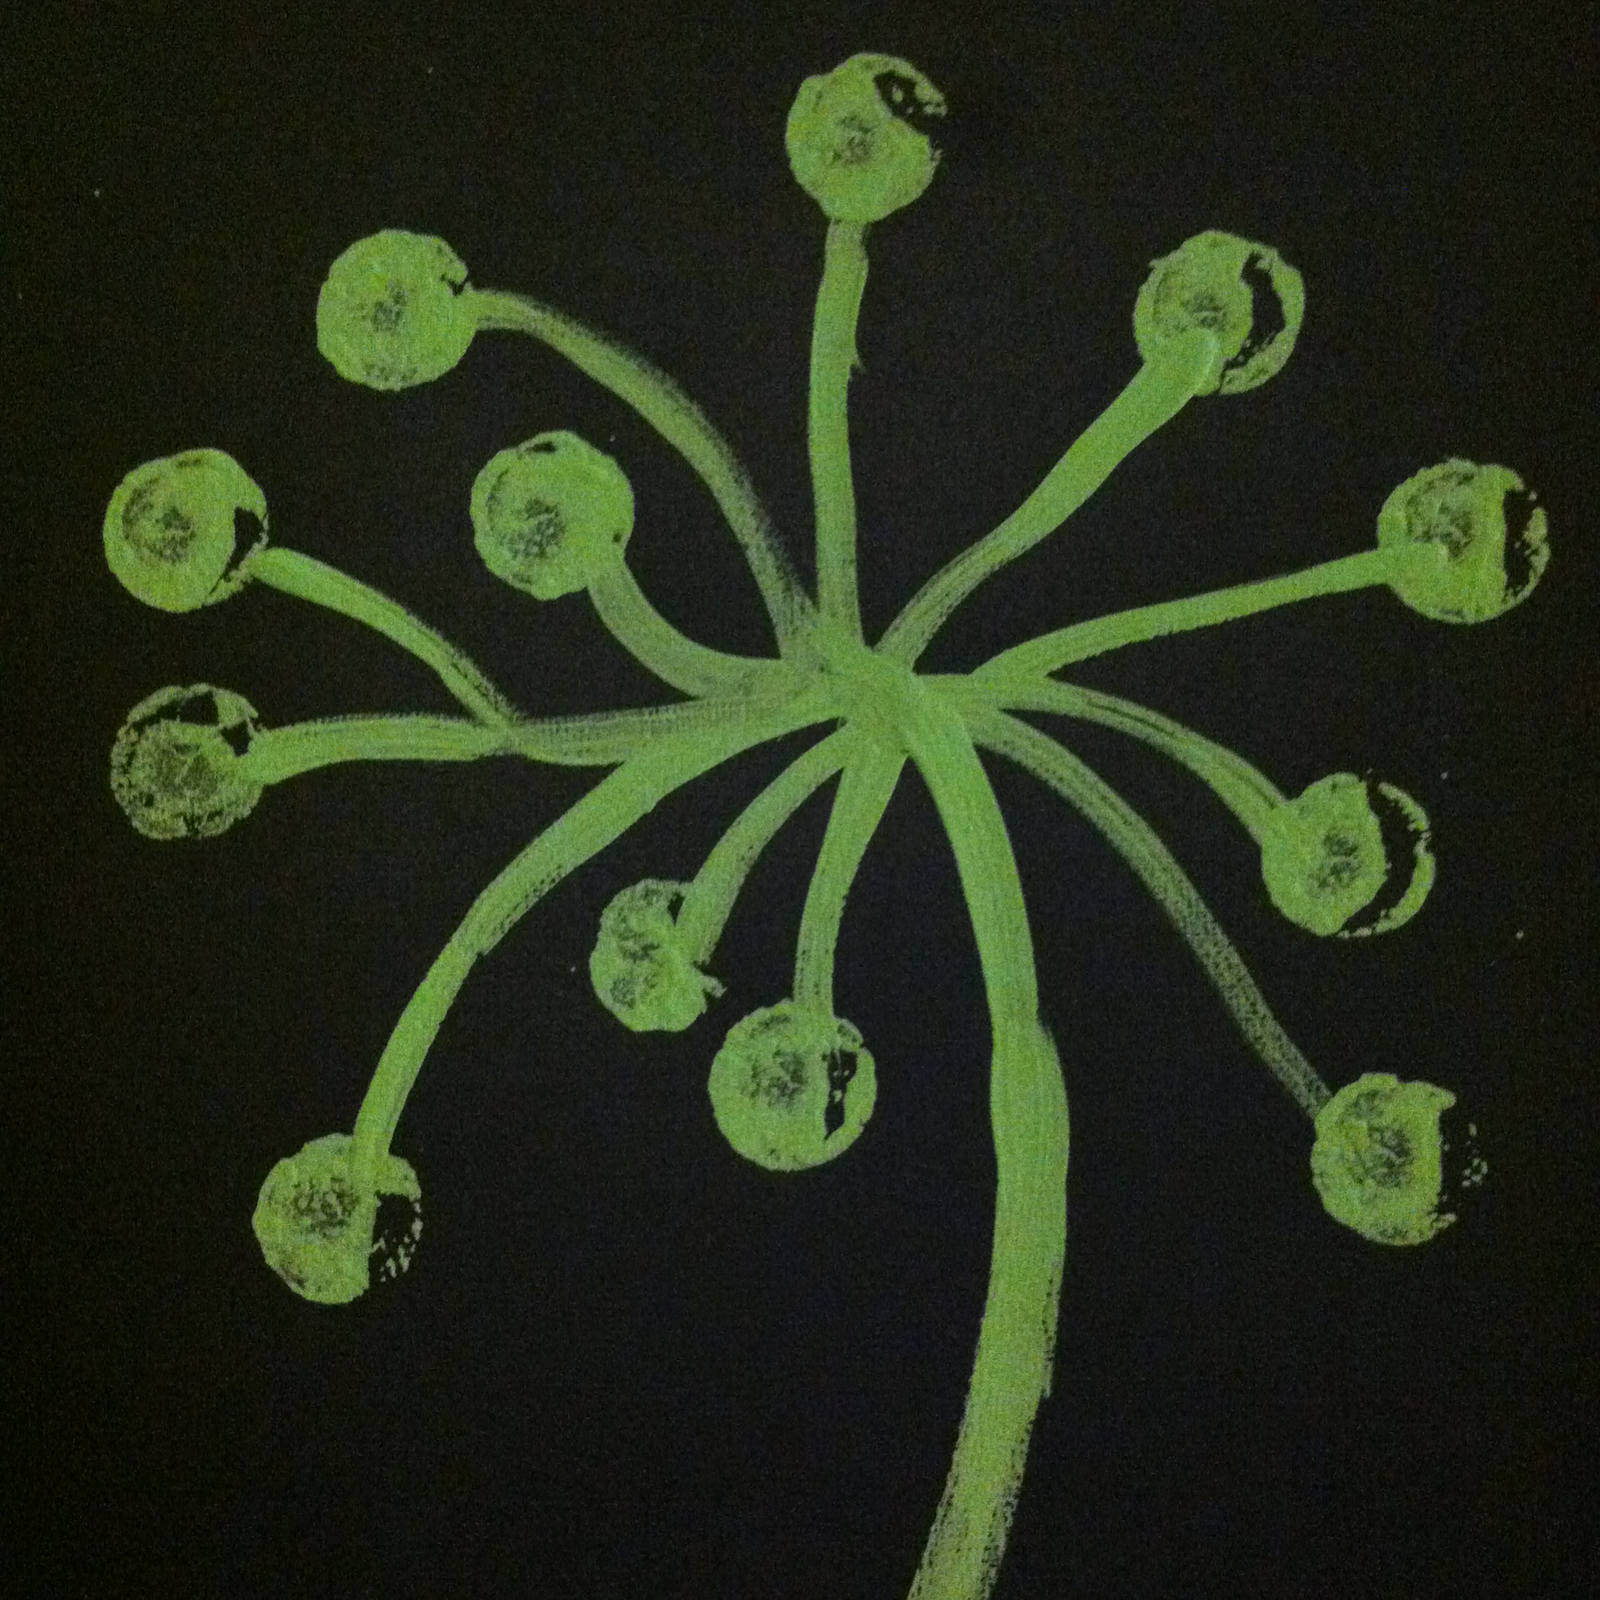
Snap Painting is simple and fun and it's also an art idea which I got from MaryAnn Kohl. This project is in The Big Messy (But Easy to Clean Up) Art Book, page 18.

The Big Messy* Art Book
* But Easy to Clean Up
by MaryAnn Kohl

a la MaryAnn Kohl
- Cover a section of your table or floor with newspaper. Then stretch several large, strong rubber bands over an old sturdy picture frame (actually, we use an old wooden box which a toy came in long ago). Paint the rubber bands with paint in whatever colors you like. Place a piece of paper under the picture frame (or cut a piece of paper to size and slide it into the box), then snap the rubber bands to make a splattering design. Re-paint the rubber bands and snap again as often as you wish. Keep baby wipes handy for paint-y hands and a small trash can nearby for the baby wipes!
She was still busy painting and snapping when her dad came to pick her up. A very happy afternoon!


 Immersive Experience
 Immersive Experience
 Immersive Experience
No comments:
Post a Comment